
My son graduates from NC State University this week! Congratulations, Ricky! With NCSU’s colors being red and white, it seemed like the perfect opportunity to celebrate with a red velvet cake! The red color makes it a popular Christmas dessert, too.
A few substitutions make this red velvet cake gluten and dairy free, and just as rich and delicious as the usual versions!
The red velvet cake had to be gluten and dairy free as well as soy free for my daughter and I to partake. No problem – I used Bette Hagman’s 3-flour mix from The Gluten Free Gourmet. It’s a nice light flour made from white rice, potato starch and tapioca starch flours. Instead of buttermilk, I used creamy light coconut milk plus a little extra vinegar. And I chose to do a butter cream (actually margarine cream) frosting with a little light coconut milk as well instead of the typical cream cheese frosting. I adapted the recipe from a traditional red velvet cake recipe from Sara Moulton at the Food Network.
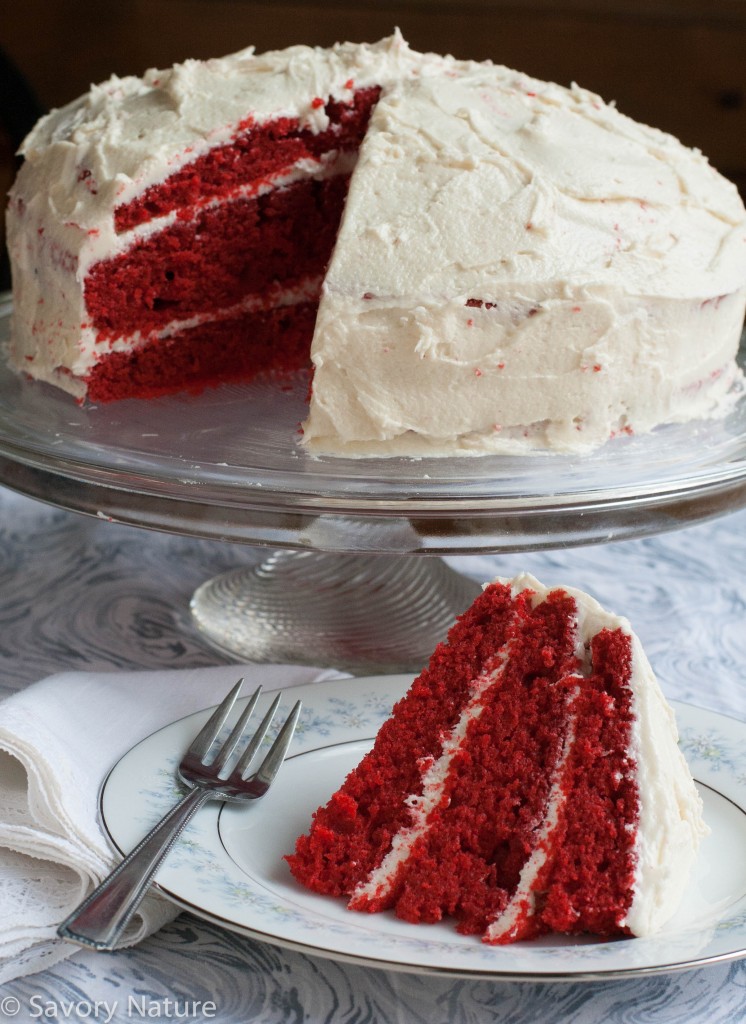
This gluten free dairy free red velvet cake is so good and so pretty! Enjoy!
- Cake
- 2 ½ cups of Bette Hagman’s 3 flour blend (2 cups white rice flour, ⅔ cup potato starch flour, ⅓ cup tapioca starch flour – you’ll have ½ cup extra you can save for another use)
- 2 tsp xanthan gum
- 1 ½ cups sugar
- 1 tsp baking soda
- 1 tsp salt
- 1 tsp cocoa powder
- 1 ½ cups canola oil
- 1 cup light coconut milk (from a can – reserve extra for frosting)
- 2 large eggs
- 1 Tbsp distilled vinegar
- 1 tsp vanilla extract
- 2 Tbsp red food coloring
- Frosting
- ¾ cup margarine softened (Earth Balance is dairy-free and also available in a soy-free version)
- 4 ½ cups powdered sugar
- 1 ½ tsp vanilla extract
- 4 to 5 Tbsp light coconut milk
- Preheat oven to 350 degrees F.
- In a large bowl, mix dry ingredients: flour blend through cocoa powder.
- In another large bowl, whisk wet ingredients: oil through food coloring.
- Whisk dry ingredients into wet until uniformly mixed.
- Grease and flour three 9-inch round cake pans.
- Divide batter evenly between pans and bake for about 30 minutes, rotating pans in oven, half way through. A toothpick should come out clean when done.
- Cool completely. If you have the time it helps to refrigerate the cakes before frosting so they’re not as crumbly.
- Beat softened margarine until creamy with an electric mixer. Beat in sugar one cup at a time.
- Mix in vanilla.
- Mix in coconut milk, 1 Tbsp at a time.
- Run a knife around the edges of each cake layer.
- Invert one of the layers onto a cake plate.
- Frost the top of that layer.
- Invert the next layer onto the frosted bottom layer.
- Frost and repeat with the third layer.
- Then frost all around the edge.


Just tried this out for, turned out really good, very good and simple instructions, easy to follow, and cake turned out really good, taste and texture are perfect. A big well done!
You don’t remove the cakes from the pans 10 minutes after removing from the oven?
I let them cool completely before removing.