
Like to order sushi? Well, it’s a little time-consuming, but not hard to make at home. It’s a bit of work so we don’t do it often, but it’s become a fun part of our New Year’s Eve celebration. We like to do finger foods that are something a little special.
Pick your favorite sushi fillings!
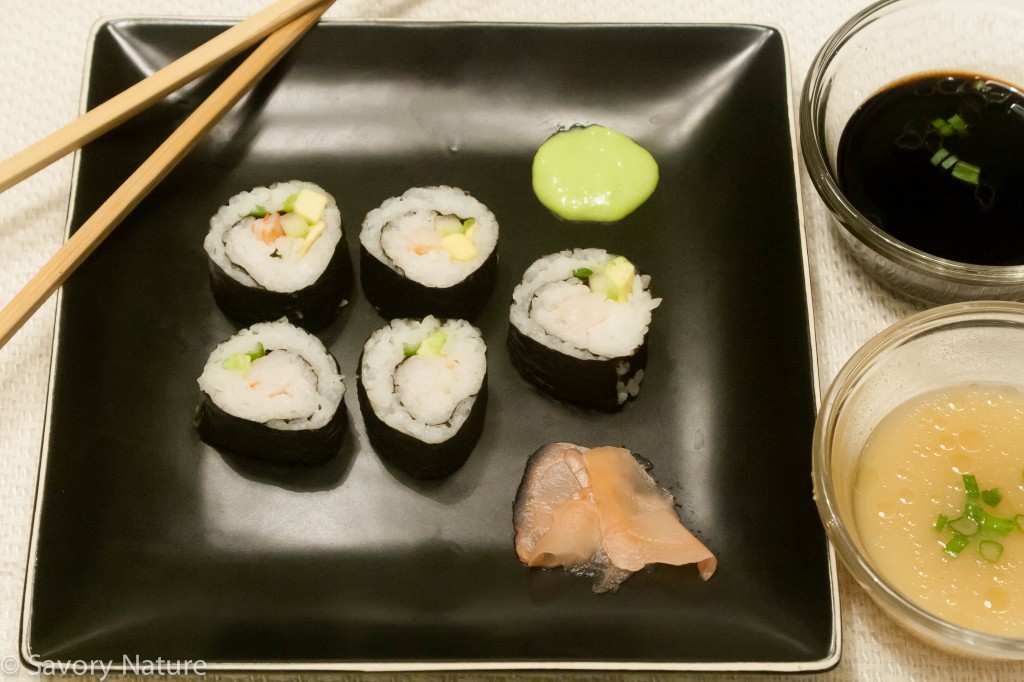
Sushi is comprised of sushi rice (sticky short grained rice flavored with sweetened vinegar) rolled up with fish or meat and/or vegetables in toasted seaweed. For our version we usually use cooked shrimp, green onions, cucumber and avocado. You can let your imagination run wild with the vegetables: zucchini and carrot strips are a couple suggestions. If you want to try raw fish here’s a link about types of fish that can be eaten raw and safely treating them. There is always some risk of illness with raw fish.
Chickpea miso sauce is a good alternative to soy sauce for those with soy allergy.
Sushi is typically served with pickled ginger, wasabi paste and soy sauce. We add a chickpea miso sauce for our soy allergic daughter. Chickpea miso can be found at Whole Foods or ordered from Miso Master.
The whole procedure with how-to pictures is given below in the recipe. Feel free to vary the fillings. And we wish you health and happiness in the New Year!
- Sushi Rice
- 2 cups short grain or sushi rice
- 2 cups water
- ½ cup rice vinegar
- ¼ cup sugar
- 1 Tbsp salt
- Fillings
- About ¾ lb shrimp cooked (add to boiling water and boil about 2 minutes until it turns pink), peeled and deveined
- Cucumber, peeled, seeded and sliced thinly lengthwise
- Green onion, sliced thinly lengthwise
- Avocado, halved, pit removed, scooped from peel and, thinly sliced lengthwise
- There are lots of other possibilities – let your imagination run wild!
- Rinse rice well under running water in a strainer until no more starch rinses off.
- Combine rice and 2 cups water in a pan and bring to a boil.
- Cover, reduce heat and simmer 15 minutes. Check if water is all absorbed. If not simmer up to 5 more minutes.
- Let sit covered for 10 minutes.
- Mix rice vinegar, sugar and salt and microwave 30 sec to 1 min to dissolve sugar.
- Put rice in a large non-metal bowl and sprinkle sweetened vinegar over it.
- Use a flat wooden spoon or sushi paddle to gently mix in the vinegar solution.
-

- Place Nori (toasted seaweed sheet) rough side up on a slightly dampened sushi mat.
- Keep a small bowl with water and rice vinegar to keep your fingers moistened while handling the sticky rice.
- Spread a layer of cooked and seasoned rice over nori leaving about half inch border close to you and 1 ½ inch border at far end of mat. Do not press the rice down – you want the individual grains to be distinguishable.
- Starting near the close end make lines of each filling on the rice.
-

- To roll, use your thumbs to lift the middle of mat edge near you and use your fingers to tuck the edge of the nori in past the fillings.
-

- Use the mat to roll the nori and filling tightly and seal the edge.
- Slice in 6-8 pieces with a slightly wet knife, wiping the knife between each slice.
-

- Serve fresh with pickled ginger, wasabi paste and gluten free soy sauce.
- We also make a sauce from 1 Tbsp chick pea miso and 2 Tbsp water to mimic soy sauce for my soy allergic daughter.


Leave a Reply